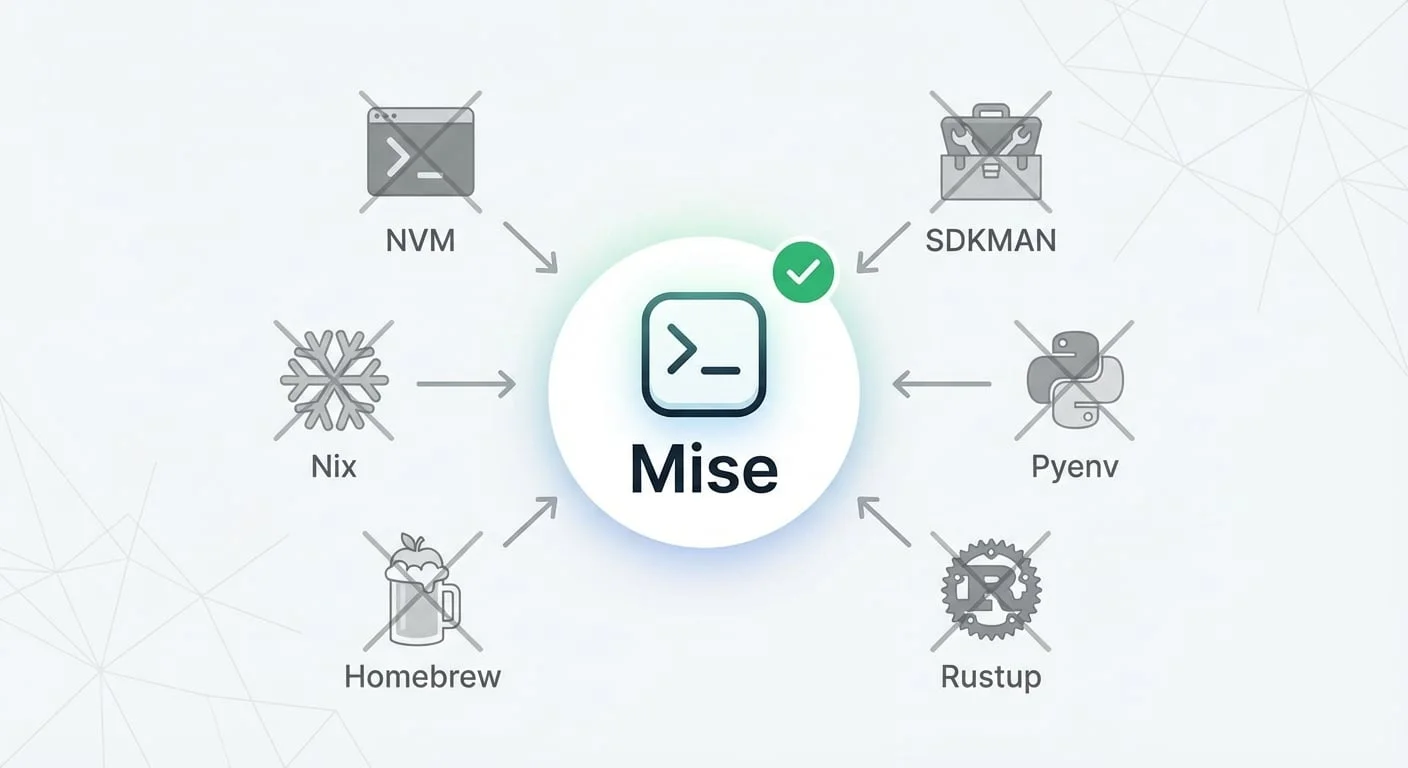
You Don’t Need NVM, SDKMAN, Pyenv, Rustup, Homebrew or even Nix. Try Mise Instead.
Mise can manage all your development environments across multiple technologies
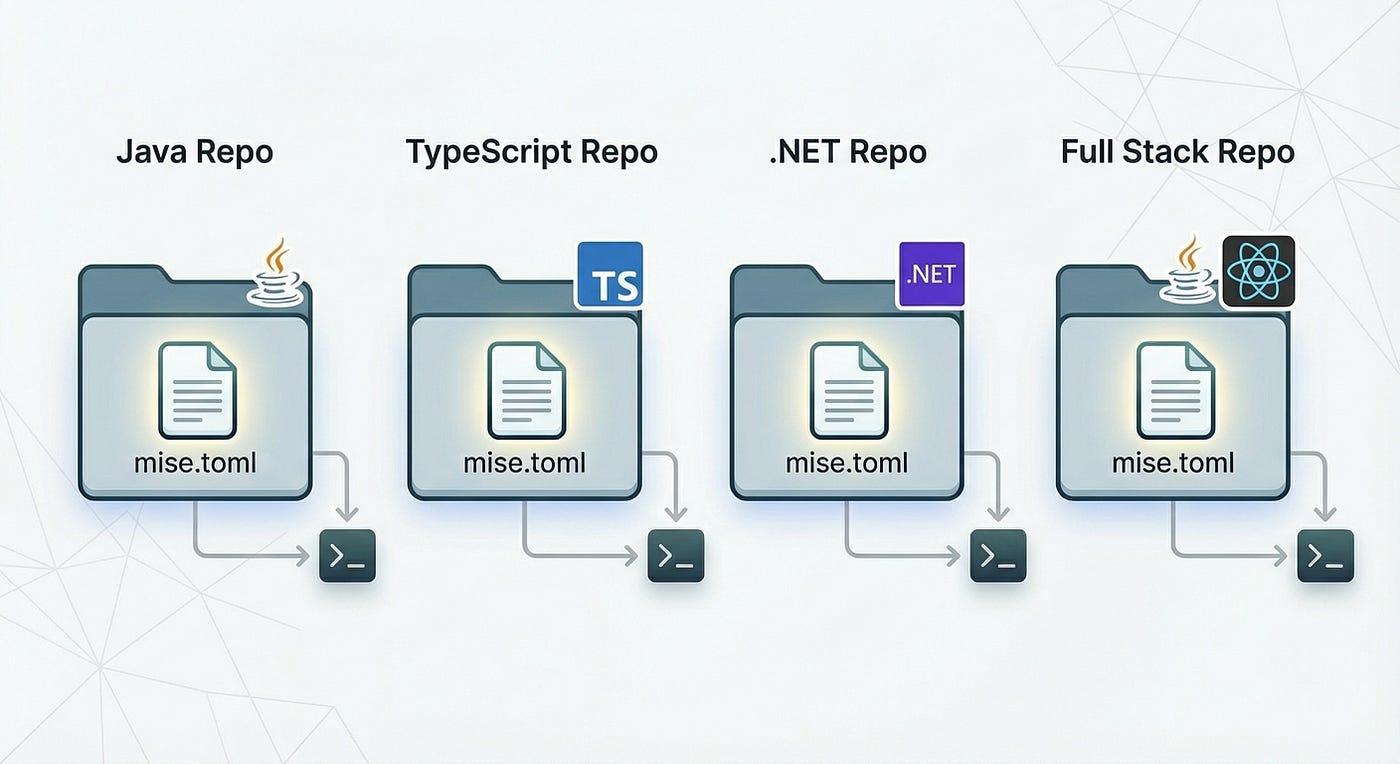
Why I Rely on Mise in Large, Polyglot Codebases
I often work inside large repositories mixing multiple technologies. My main mission is always the same: streamline the development cycle and get teams aligned on a shared, predictable workflow across the whole company.
Most of the time, this means integrating Nx — a polyglot toolchain and ecosystem that unifies how we build, test, lint, release, and cache projects, no matter the stack.

But today I wanted to highlight a tool that quietly transformed my daily workflow: Mise (mise-en-place).
It simplified my setup so much that I now use it to manage all the tools on my personal machine.
Getting starting with Mise
If you want to install it, the official guide is clear and short: https://mise.jdx.dev/getting-started.html
Once installed, just drop a mise.toml file in your repo and declare the tools you need:
[tools]
pnpm = "10"
dotnet = "9"
java = "24"
maven = "3.9.5"
node = "24"
rust = "1.90.0"
helm = "3.19.0"
python = "3.13.2"
Then run:
mise installThat’s it. No extra steps.
Automatic Tool Switching With cd
If you juggle multiple repos with different tool versions, Mise can automatically switch tools when you cd into a directory.
For bash:
echo 'eval "$(~/.local/bin/mise activate bash)"' >> ~/.bashrcFor zsh:
echo 'eval "$(~/.local/bin/mise activate zsh)"' >> ~/.zshrcAfter that, it’s magic. Just navigate into a folder, and the right versions are instantly available — no manual commands required.
Global installation
You can also install global tools:
mise use -g node@22
mise use --global npm:@anthropic-ai/claude-code
This creates a config file at:
~/.config/mise/config.tomlIt’s very handy: even if your OS has other versions installed, Mise always picks the closest configuration (local folder first, then global).
Thanks to this, I uninstalled tools like nvm and significantly reduced my use of Homebrew.
Managing Environment Variables & Secrets
Mise can also handle environment variables — great for local secrets.
Just create a local file (ignored by Git) such as mise.local.toml:
[env]
DATABASE_URL = "postgres://user:pass@localhost/dbname"
API_KEY = "jnmsrtysxzxcftdfyhrtsbdfgoaliwegnaeolrjn"
AWS_REGION = "us-east-1"
You can even override the [tools] section locally if needed.
A Simpler Approach to CI/CD in Polyglot Repos
There are many ways to handle toolchains in CI/CD, but most strategies have problems:
Press enter or click to view image in full size
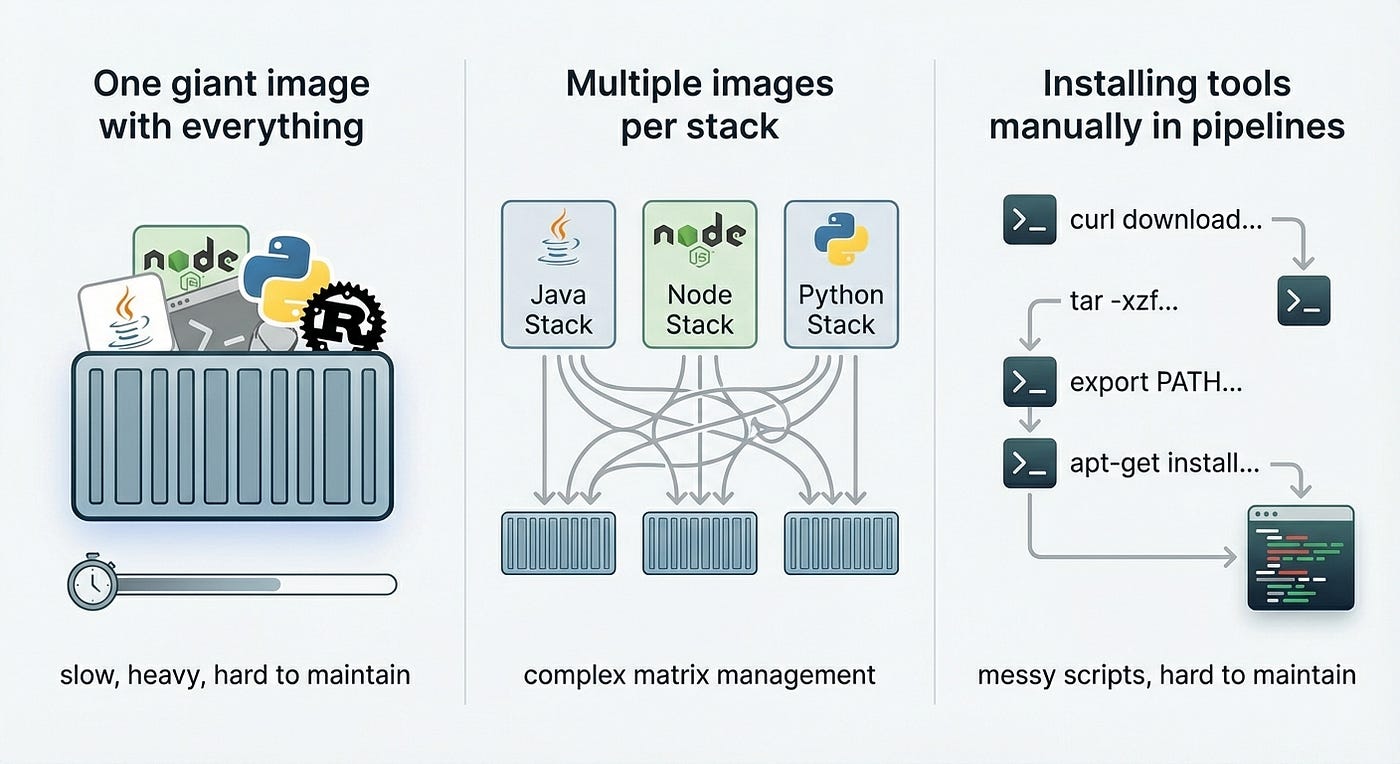
Common approaches to handling polyglot dependencies in CI/CD often lead to slow builds (giant images), complex matrix management (multiple images), or unmaintainable scripts (manual installation).
-
One giant image with everything → slow, heavy, hard to maintain
-
Multiple images per stack → complex matrix management
-
Installing tools manually in pipelines → messy scripts, hard to maintain
Your CI only needs one thing: Mise
Then run mise install and everything defined in mise.toml will be installed—fast and clean.
Caching is also easier because all binaries land in a predictable location.
For GitHub Actions, there’s even a ready-made action: jdx/mise-action@v3
For example, below a github configuration using Nx:
name: CI

on:
  push:
    branches: [main, develop]
  pull_request:
    branches: [main, develop]

jobs:
  build-and-test:
    runs-on: ubuntu-latest
    name: Build and Test

    steps:
      - name: Checkout code
        uses: actions/checkout@v4

      - name: Setup mise
        uses: jdx/mise-action@v3
        with:
          install: true
          cache: true
          experimental: true

      - name: Derive appropriate SHAs for base and head for `nx affected` commands
        uses: nrwl/nx-set-shas@v4

      - name: Install dependencies
        run: npm ci

      - name: Run all affected tasks
        run: npx nx affected -t lint,test,build,e2e --parallel=3
Installing Nix Packages Through Mise
If your company uses Nix, you might already know tools like devbox, devshell, devenv, flox…
And maybe you also struggled with some of them.
There’s a great plugin by José Badeau that makes Nix as easy as writing your Mise config:
Install the plugin:
mise plugin install nix https://github.com/jbadeau/mise-nix.gitThen simply declare Nix packages:
[tools]
"nix:nodejs_22" = 'latest'
"nix:pnpm" = 'latest'
"nix:zulu" = "latest"
"nix:maven3" = 'latest'
That’s all. Same experience, just using Nix under the hood.
Mise + Nx: A Perfect Fit for Polyglot Repos
Nx has been expanding support for more ecosystems like Gradle, Maven, .NET, etc.
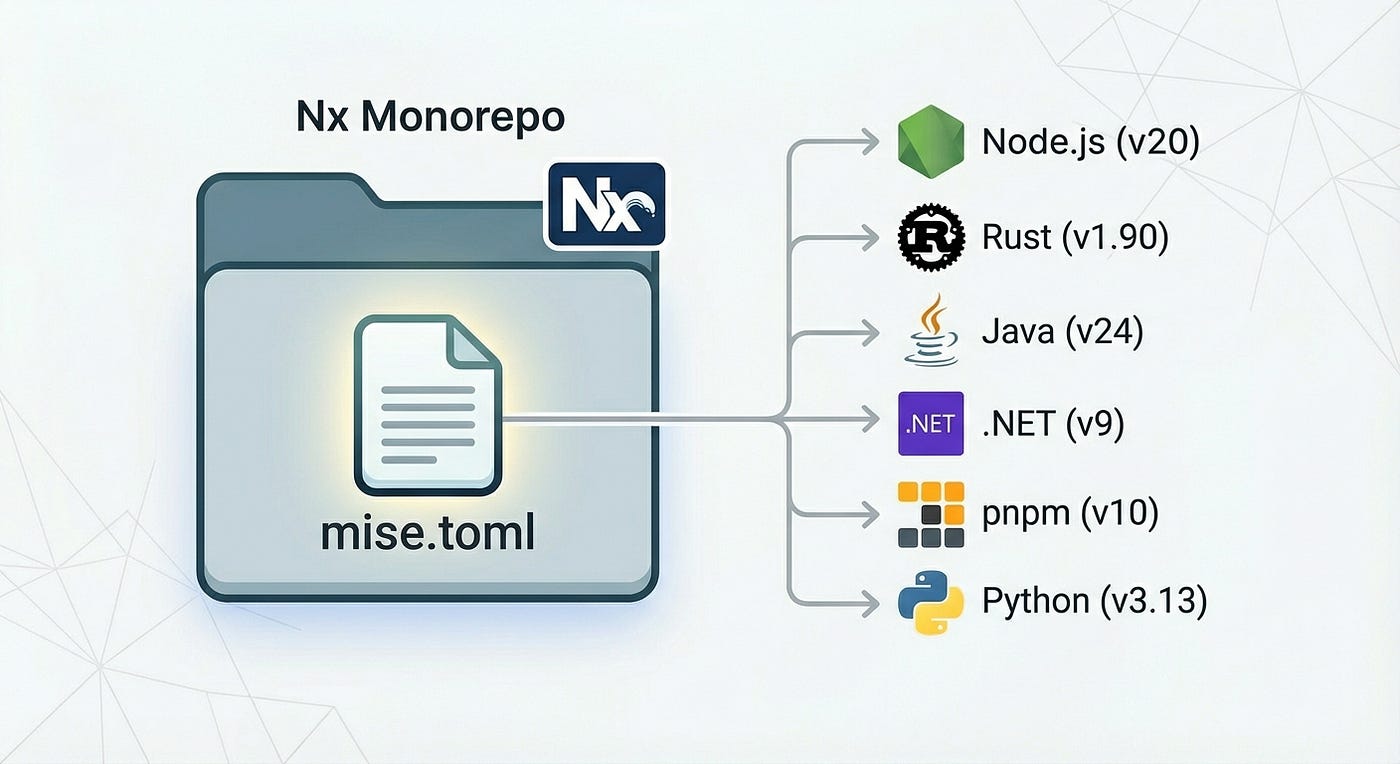
To make the developer experience smoother, the Nx team adopted Mise internally:
If you’re using Nx Cloud with Nx Agents, there’s even a workflow step to install Mise automatically:
- name: Install mise
  uses: 'nrwl/nx-cloud-workflows/v5/workflow-steps/install-mise/main.yaml'
  inputs:
    mise-version: 'v2025.10.19'
    auto-install: true
    tools: |
      rust=1.90
      node=20
📣 Summary
In this article, we looked at how Mise can simplify your entire development setup. With one mise.toml file, you can manage all the runtimes and tools you need, switch versions automatically, and even handle environment variables.
We also saw how Mise makes CI/CD cleaner by avoiding heavy images and long install scripts, and how it integrates naturally with Nx and even Nix packages through a simple plugin.
Overall, Mise keeps your projects consistent, your machine clean, and your workflows easier to maintain — whether you’re working locally or in CI.
Credits
Big thanks to José Badeau and Miguel Sanchez who introduced me to Mise.
Want to go further?
If you're curious about using Mise with Nx or integrating it into complex CI/CD pipelines, feel free to reach out — I'm always happy to share real-world setups and practical tips:
Build on Foundations,
Scale with AI.
I design AI-powered workflows and engineering foundations that make teams faster, happier, and more consistent.